Want to create circular progress bar with round edges in unity? bored on the regular radical progress bar UI? then you’re in right page. Lets discuss on how to create a circular progress bar with rounded edges in Unity 3D.
In Unity most of the users are struggling in designing UI part as there are limited custom components availability. Personally I have struggled at starting to design the UI part of my games. And started to create my own UI designs by customizing with the available basic UI elements.
Here, I would like to share my idea on creating custom circular / Radical progress bar in Unity 3D. I have not used any paid assets in this as I wanted it to be easy to use by all. Lets move to the development.
Step 1 : Preparing the images Assets needed to use on this
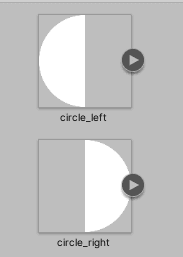
In this we need to create rounded edges in the normal / regular circle progress bar where no rounded edge in available. First split a circle vertically as below and export them as separate image assets, so that we can add it as start and end point of the progress bar.
Also we need a high quality circle image in PNG format. It can be create using any UI design tool such as Adobe Photoshop. Or it can be downloaded from internet such as Flaticon. If you are going to use solid color for the progress bar filling than you don’t need any other image assets, in this I’m going to use gradient circle for filling and so I’m using extra image assets as below. Prepare the circle images and save them separately in good resolution to avoid quality issue.
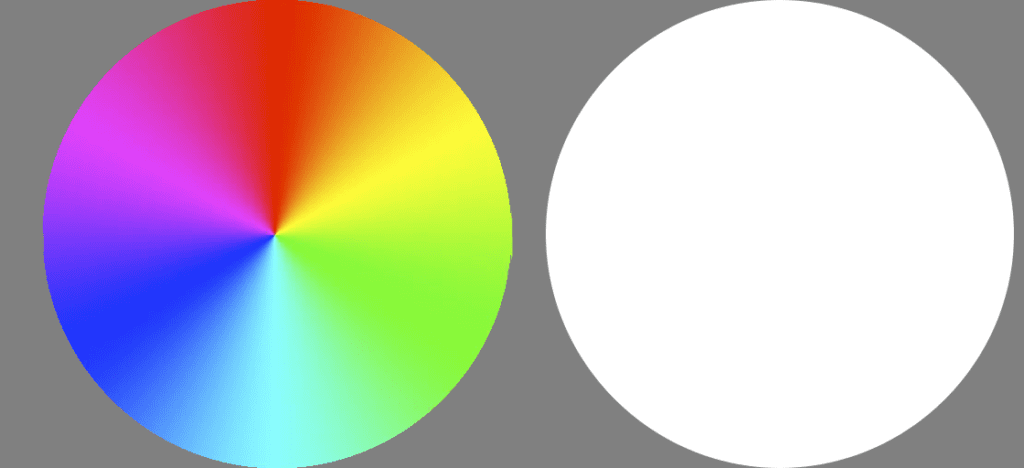
Note: Always use White images if you planed to use solid colors, white images support to change the color at any point of time.
Then create a regular circular progress bar. If you are familiar with creating the radical progress bar, then you can skip this step and proceed with further steps.
Also Read: Create Switch button UI in Unity 3D
Step 2: Create regular radial progress bar
Add the images in in Unity Canvas using UI elements, then convert the image type from Simple to Filled.
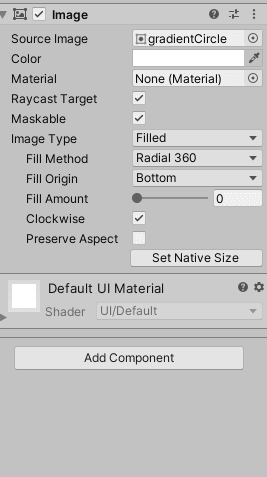
Upon changing the fill value the circle will look like below.
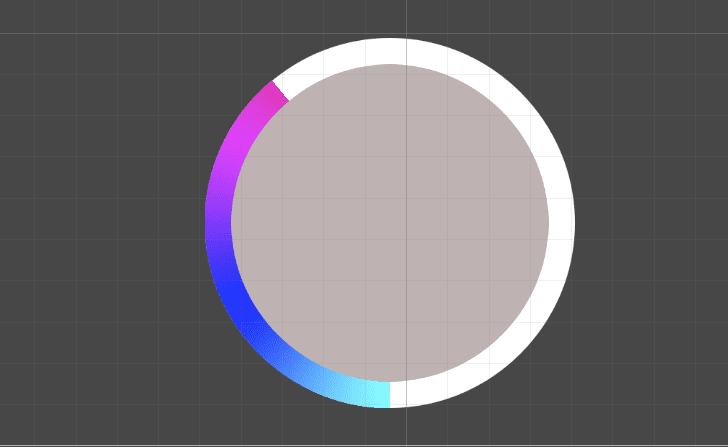
Step 3: Adding round edges to the radical / circular progress bar
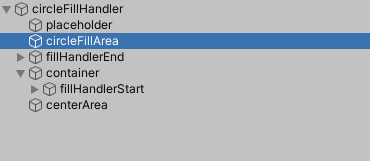
And this is the next step that were we’re going to add the round edge images which created in step 1. First create a container to hold the left semi circle to move along with a radius value, and add the right semi circle as fixed. Please refer scene hierarchy in step 2. Once all done it will look like as followed.
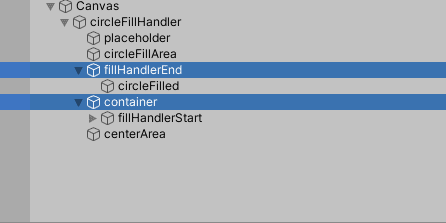
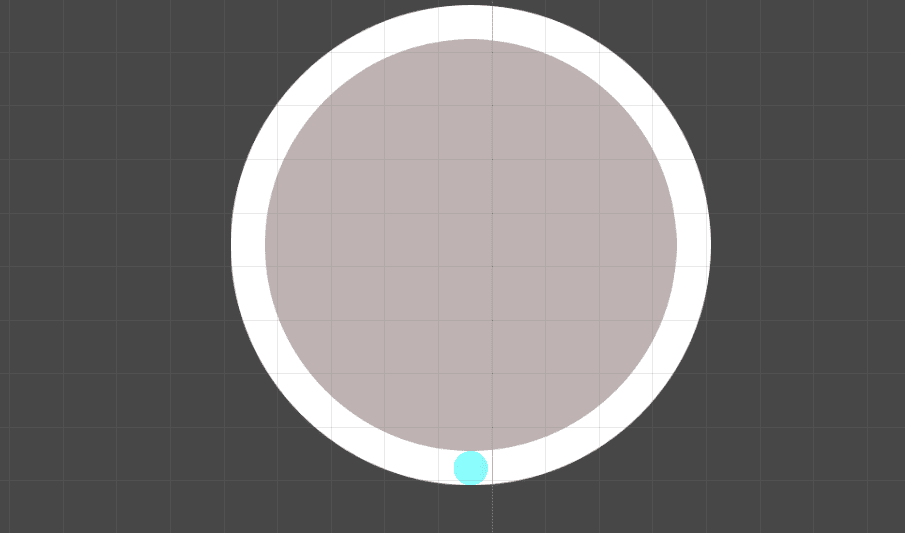
Most importantly add UI mask to the round edges and add the duplicate filling circle as their child, so that the color will be changed accordingly with the background, if you are using solid color only there is no need of adding the UI mask.
Step 4: Create script for handling the start edge movement
And finally create a code to handle the movement of the round edge with respect to the fill value. Below is the reference of how to handle the movement of round edge.
In Unity the image fill value is ranges between 0 – 1, and based on the the radius also need to updated. If you are using the fill value 0 -100 than you have to dived the value by 100 like below.
Source code and tutorial
For better understanding please watch this following video tutorial. The Source code is given in the description.


